

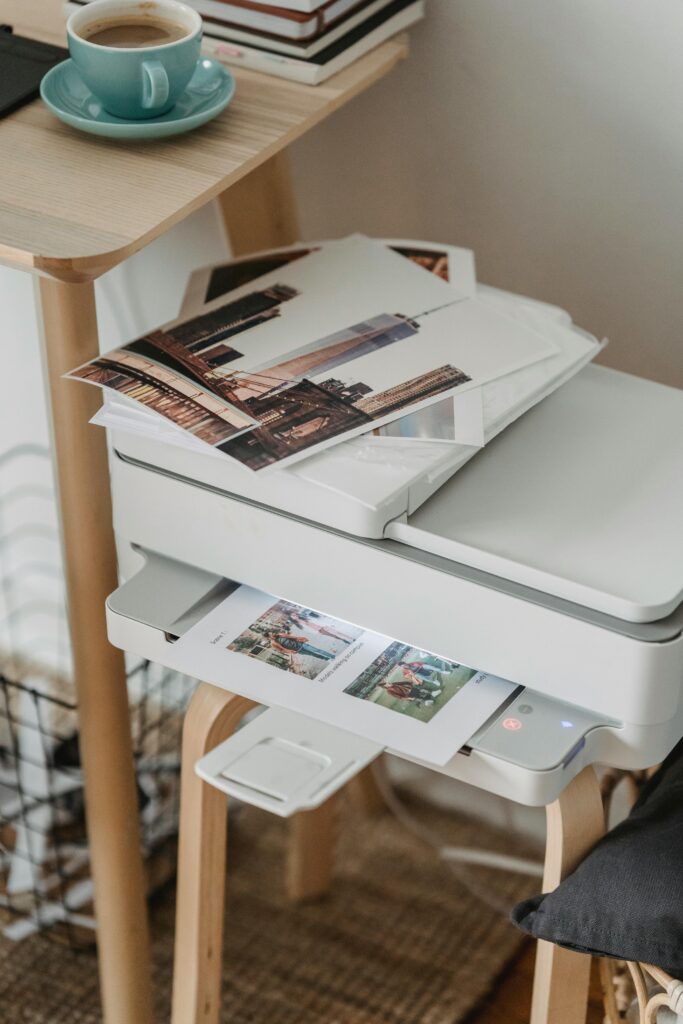
Connecting your wireless printer can be a bit tricky, but this step-by-step guide will make it easy. Follow these steps to set up your printer, connect it to WiFi, and install it on your computer.
Setting Up Your Wireless Printer
Step 1: Initial Setup
Placement: Put your printer close to your WiFi router for a strong signal.
Power On: Plug in the printer and turn it on.
Install Cartridges: Follow the manual to install ink cartridges and load paper.
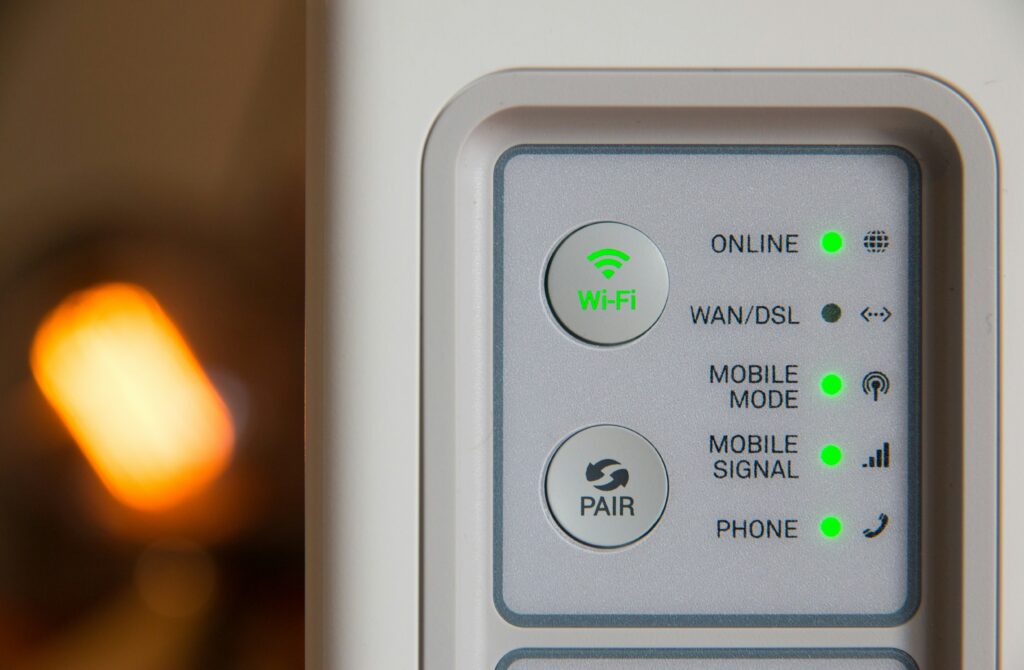
Step 2: Access Wireless Settings
Navigate to Wireless LAN Setup: Use the printer’s control panel to find the Wireless LAN settings.
How to Connect a Printer to WiFi
Step 1: Using SSID and Password
Select Network: On the printer’s display, choose your WiFi network (SSID).
Enter Password: Input your WiFi network password to connect.
Step 2: Using WPS Button
Press WPS on Router: Find and press the WPS button on your router.
Press WPS on Printer: Within two minutes, press the WPS button on your printer.
Step 3: Using Ethernet
Connect with Cable: Temporarily connect the printer to the router with an Ethernet cable.
Access Web Interface: Use a computer to access the printer’s settings via its IP address and configure the wireless settings.
How to Install a Wireless Printer
On Windows
Automatic Detection: Windows 10/8 should detect and install the printer automatically.
Manual Installation: If not detected, use the printer’s installation software or the “Add a Printer” feature in Windows settings.
On Mac
Connect to WiFi: Ensure the printer is connected to your WiFi network.
Download Driver: If needed, download the driver from the manufacturer’s website.
Add Printer in System Preferences:
Go to “System Preferences” > “Printers & Scanners”.
Click the “+” button to add a new printer.
Select your printer from the list or enter its IP address.
Troubleshooting
If the printer isn’t connecting, refer to the printer’s manual and your router’s configuration for troubleshooting tips.
Print the printer’s network configuration details for information like MAC address and IP address.
How to Add a Printer on a Mac
- Select WiFi Network: Use the built-in controls on your printer to select your WiFi network.
- Install Driver: Install the necessary printer driver from the CD or the manufacturer’s website.
- System Preferences:
Go to “System Preferences” > “Printers & Scanners”.
Click the “+” button.
Select the “IP” tab, choose “Internet Protocol IPP”, and enter the printer’s IP address.
Select the correct printer driver and click “Add”.
By following these steps, you’ll be able to set up and connect your wireless printer to your WiFi network, making printing more convenient and flexible.
FAQ
How do I find my printer’s WiFi settings?
Access your printer’s control panel, go to the settings or network menu, and look for Wireless LAN or WiFi settings.
What should I do if my printer can’t find my WiFi network?
Ensure the printer is within range of the router, check if the WiFi network is active, and verify that your printer supports the WiFi frequency (2.4 GHz or 5 GHz).
Why won’t my printer connect to WiFi?
Possible issues include incorrect WiFi password, printer being out of range, network compatibility issues, or needing a firmware update.
Can I use my printer on a different WiFi network?
Yes, you can reconfigure the printer’s WiFi settings to connect to a new network using the control panel or setup software.
How do I set up a printer on a new router?
Reset the printer’s network settings and follow the setup process to connect to the new router’s WiFi network.